Showing posts with label Tots100. Show all posts

Tuesday, 15 December 2015

Lucia Day #Bostik Bloggers

The latest Bostik Bloggers theme is Christmas and influenced by the Swedish tradition of Lucia Day we have made a candle crown and star wand. You can read all about the St Lucy celebrations here

Bostik Bloggers December

We used:

Twisty green foliage wires
Shiny gold pipe cleaners
Blu Tack fine & wide glu pen
Red felt
Scissors
make a St Lucy crown Twist the green wired together into a ring to fit your head. Then fold a sheet of red felt over length ways and then fold again so you have a strip of folded felt. Now cut into squares of about 5 inches, each of these then are rolled up to be the candle.

red felt Before rolling up and fixing with Blu Tack fine & wide glu pen, push the gold pipe cleaner through until the top is poking through by about half an inch -these is the candle flame, The rest of the pipe cleaner is used to wrap around and secure to the green wreath. Then cut off what is now required and use to make the other candles. I made 4 but could fit more onto the wreath if I wanted.

red candle crownThe final St Lucia wreath/crown.
Lucia wreath

Then we made a star boy wand, these are the boys who accompany St Lucy and her handmaidens in the Lucia Day procession. They have decorated conical star hats and star wands.

We used:

Gold card
Pen/pencil
Scissors
A star template (actually used a Christmas decoration)
Lolly sticks
Blu Tack fine & wide glu pen  photo P1070762_zpsiwpxkdj6.jpg
Draw around the star template and cut out two gold stars.

Attach the stars using Blu Tack Fine & wide glu pen to the lolly sticks to make your wand. gold wands for Lucia Day Lucia celebrations


Last month we did Snow crafts.

The craft box was provided to me by Bostik as part of the Tots100/Bostik Craft Bloggers Club

Friday, 20 November 2015

Snow crafts #BostikBloggers

jar lantern It's getting a bit chilly now and with snow forecast in some parts of the UK this week it seems fitting that this month's Bostik Bloggers challenge is indeed that - SNOW! 

I actually made a couple of lanterns for Martinmas last week with the craft box and here is what I did.

Firstly a jam jar lantern using:

Bostik White Glu
Clean jam jar
Transparent paper
Fallen leaves out of the garden
Glittery snow stickers
Grey wool
Scissors

The leaves were stuck on the jar and then the transparent paper wrapped around, cut to size and glued with the Bostik White Glu. Wool was wrapped around the top to decorate and them embellished with the glittery snowflake stickers. Pop a battery tealight in and you have a frosted wintry lantern.


We then made a lantern from some sparkly white card. Fold the card in half, then cut into the bent over edge, just by an inch so it creates a fringe. Open up the card and make into a cylinder, fold over the base and glue. Punch two holes at the top so you can thread ribbon or string through to make a handle. We then places a colour changing tea light in and hung in the window to brighten up the early dark evenings.

paper lantern Finally we made a winter decoration using:

Blu Tack Foam Pads
Blu Tack White Glu
A plastic hoop
Fluffy blue and white pom poms
A foam snowflake
Pearly buttons
Blue Ric rac

Using both the Blu Tack Foam Pads and White Glu we stuck the pom poms and buttons around the plastic hoop and used the ric rac to hang it from on our pinboard.

Bostik Bloggers Snow craft winter decoration
The craft box was provided to me by Bostik as part of the Tots100/Bostik Craft Bloggers Club

Thursday, 29 October 2015

Family Halloween Games

We love Halloween and every year have a little get together  - a tea party, spooky music and games. Little Bird likes to join in the best he can and the Junior Birds have a real competitive streak and get stuck in. This year we have two new and exciting games to play - Creepy Hand and Ghost Hunt Evolution by Megableu Games.
Ghost Hunt Evolution


Ghost Hunt Evolution

Billy Bones is a skeleton electronic projector who through his snazzy red specs makes an array of spooky creatures appear on the walls for you to shoot with your electronic gun. It was easy to set up, requiring the usual batteries of course but then we are always well stocked up on them - 4 AA batteries and 3 AAA batteries. 

Darken the room and off you go. Billy Bones makes blood curdling noises and the fear is there - pow, pow with your gun. Where will the bat be as he's worth 3 points. Quick load the gun up again. Well it was a mixture of that slight panic you get even though it's all a game and much laughter. The Junior Birds were very good at this but I was rubbish, scoring an average of 4 points to their 11 - the scores show on the gun's digital display. Must practice more!

Little Bird found it all hilarious and was carried away with the atmosphere so it was a good game all round for the family, even if very little ones can't play. It's recommended for age 5+. We were all keen for a next go and it gets extremely addictive. Great for Halloween parties and a good ice breaker to get everyone into the 'spirit' ;)


Creepy Hand
Very funny from the start with a severed green hand that made me think of The Addams Family, 
Essentially this is a truth, dare or forfeit game so with the pack of cards shuffled and set aside, each player given a Double Dare card Creepy Hand was set in the centre of the table. Press the button and the hand turns slowly around and when he's ready, he slowly lifts his bony digit and points at his victim.

Turn the truth, dare or forfeit card over and a player gives the choice TRUTH or DARE?

examples....
Are you afraid of the dark?
Mime playing a sport so the other players can guess.
Have you ever had a nickname?
Improvise a rap about yourself.

If the player doesn't do this successfully or refuses the challenge, they must take the forfeit or may play the Joker Card and choose an opponent to take the challenge instead.

A successful challenge means you keep the card and the first player to obtain 6 cards in the winner. 

The game is for age 7+ so Little Bird looked on but again found it all hysterical and most of the game was spent laughing. The improvisation challenges were especially funny and it was a real bonding game, a good one for getting everyone together. The Truth or Dare cards had some brilliantly creative options so it was a big hit all round. The hand is also a great Halloween prop....just wait for when the trick or treaters knock on......


We received the Megableu games for the review, all words are my own honest opinion.

Tuesday, 20 October 2015

Halloween crafting #BostikBloggers

Bostik-Halloween A whole box of Halloween coloured crafting delight - ribbons, felt, embellishments, black, white, orange. Now step in and mind my broomstick, lets weave a crafting spell......Bostik BloggersTo make a black pumpkin plate decoration we used:

1 black paper plate
Bostik Blu Tack Glu Dots
Scissors
White foam sheet
1 white pipe cleaner
Green ric rac
Sticky tape

Cut triangles of white foam sheet for the eyes and nose. Then cut a jaggedy mouth.
Glue to the black plate using the Blu Tack Glu Dots. Cut out some circle for freckles and glue them on to to make a pumpkin face.

Loop the white pipe cleaner and attach to the back of the plate with sticky tape to make a hook to hang the pumpkin decoration from.

Tie a short piece of green ric rac around the pipe cleaner, a little pumpkin stalk.
pumpkin plate pumpkin decorationNext for a spooky jester's stick (or maybe a pumpkin wand)

Orange felt
Black felt
Selection of pipe cleaners
Polystyrene egg
Black and green ric rac
Orange pumpkin ribbon
Scissors
Blu Tack Blu Stick

Twist several pipe cleaners together to make a firm handle for our wand (leave one aside) Place the egg in the centre of the orange felt, place the pipe cleaner handle under the egg and scrunch it around and then secure with a pipe cleaner tie.

Cut out eyes and mouth for the pumpkin from the black felt. Glue on using the Blu Tack Blu Stick glue. 

Tie the ribbon and ric rac around the wand

Cast a spell

orange felt Halloween wandOwl decoration

Silk leaves
Owl embellishment
Black feathers
Black felt
Bostik Blu Tack Glu Dots
Blu Tack Blu Stick
wooden dolly peg

Using the Blu Tack Glu Dots fix the silk leaves together into a rosette.
Stick the owl embellishment into the centre. 

Onto the back, stick the feathers with the Glu Dots and a small piece of felt over the dolly peg. Secure with extra Blu Stick. 

owl decoration

 Happy Halloween!

home made Halloween decorations

Last month was not back to school crafting.
The craft box was provided to me by Bostik as part of the Tots100/Bostik Craft Bloggers Club

Tuesday, 6 October 2015

Not Back to School #BostikBloggers

Bostik Bloggers Back to school box The latest Bostik Bloggers theme was back to school but with home educating we decided it would be our not back to school project. As we go to the library as part of our home school week, we have made a library book bag. craftingWe used:
Quarters of patterned material
A pen
Ric-rac
Colourful foam sticky letters
Bostik Glu & Fix, clear extra strong - great for fabric
A plain cotton bag

material Draw the letters onto the back of the material with a pen, my son's initials for his own little book bag.
Glue the material letters on.
designing a cotton bag Then make a design with ric-rac and the foam letters. My son picked out the colours of ric-rac that he liked and then we found the letters of the alphabet so it was a great learning activity for him too. All were glued on into a design underneath his initals.
letters Ta da! A cute little personalised cotton bag for our library trips or for mummy to use to avoid a 5p charge on a little shopping trip!making a library book bagLast month was holiday crafting.
The craft box was provided to me by Bostik as part of the Tots100/Bostik Craft Bloggers Club

Monday, 7 September 2015

Holiday craft #BostikBloggers

Bostik Bloggers summer Time for some crafting and this time the theme is holidays. We may have just had the summer holidays but in fact we are yet to go on ours as we go right at the very end of summer so soon! With home educating we are able to go when it is quiet and most other children are back at school.

Friday, 7 August 2015

Summer crafting #BostikBloggers

We are late! Too many trips out so we finally got to crafting last week. Our Bostik Bloggers box had an outdoors theme and was filled with flowers and greenery. As soon as we saw the twisty wire, a summer door wreath sprang to mind and my son helped pick out all the flowers and got sticking with the glue. 
crafting a summer door wreath

Thursday, 9 July 2015

Freelancing as a blogger whilst being a home educating mum

Where I am now in terms of family life and my work is not where I expected to be 10 years ago. My son changed everything, being made redundant changed things too, as did writing this blog.

I had expected my son to go to the local school and for myself to eventually find a part-time job but then autism happened, I had battles to fight and I decided to home educate through lack of suitable school options. My blog also started to generate a small income and I thought, I can do this, I can freelance and educate my son. Therefore I can be at home with him and as home education does not have to follow set hours or days I can work around his needs.

Here are my tips for freelancing when you perhaps like me home educate your children or have young preschool children still at home. 

Wednesday, 8 July 2015

Crafting and friendship at Re-creation London

`Creative space in London Stepping off the tube at Borough I wasn't prepared to find the most gorgeous crafting location set in this vibrant area of the City. Re-creation Artroom London is a crafter's paradise. A place for parents to bring their children, for friends to meet and do arty things and natter or just to come and enjoy whatever art or craft you desire. It is for everyone and you will be welcomed by the friendly gang who will help and advise and most of all put a big smile on your face.

Monday, 6 July 2015

Monster in my house #BostikBloggers

A little late due to the little heat wave meaning that my energetic 5 year old just wanted to race around the garden, jump in the paddling pool and generally turn into a little monster.

As soon as the rain started to fall I still couldn't get my boy in but as the rain kept falling I literally had to scoop him up and say enough. Still full of energy, it was time to occupy him with some crafting and luckily for us out latest Bostik Bloggers box was sat on the dining room table.
Bostik Bloggers Monster Craft box In fact, it's contents had already been investigated by my son and we had some thoughts around our monthly project  - Monsters!  How appropriate.

Saturday, 30 May 2015

Scrapbooking #BostikBloggers

We have been a bit out of sorts on the crafting front for one reason or another. Little man can get quite determined in his likes and dislikes and crafting has been off the agenda for a little while. However, I decided to try again and bring out our Bostik Bloggers craft box, full of goodies, for our latest theme of scrap-booking.
May-craft-box To bring back some holiday memories, we printed off some images from our trip to Cornwall and set about making a little display for our home education area. We used:

Card
Bostik foam pads
Photos
Washi tape
Stickers
Foam shapes
Coloured paper
Cellophane
Rick Rack
Material scraps
Glue
Thread
scrapbooking-our-holiday We stuck our pictures onto the card using the Bostik Foam Pads to give a 3D effect and then started to decorate using our lovely box full of embellishments - Washi tape, stickers, foam shapes and some coloured paper to make labels. craftingToby found some blue cellophane that we glued on and with some material scraps we decided to make a little sailing boat. Some thread became the mast pole and some rick rack were the waves.

Finally, we stuck it onto the wall with our cute pink Bostik Blu Tack. Now we have a holiday remainder to talk about and cheer us up on these wet and windy days.
scrapbooking

The craft box was provided to me by Bostik as part of the Tots100/Bostik Craft Bloggers Club

Sunday, 19 April 2015

Beautiful briny shimmery shiny #BostikBloggers

Time for another craft session for #BostikBloggers and this month the theme is the ocean. A box full of deep blue surprises with plenty of shells and fish, sprinkles of green glitter and some super amazing blue glue.

Bostik-Bloggers-Ocean-Box

Wednesday, 1 April 2015

Kitchen/Dining Room Makeover for Spring #MyWay

Springtime is my time to start thinking about sprucing the home up. Towards Easter with the sun starting to poke its head through the clouds, I feel like I want the house looking cleaner and brighter. I'm frequently pencilling down ideas - colour schemes, new styles, inspiration from magazines and of course using Pinterest. So when I had the opportunity to take part in the Homebase #MyWay challenge I was very excited to be able to bring some of those ideas to reality.

Homebase have a super resource, the Project Centre where you can find plenty of home ideas and helpful advice for completing those home improvements. Recent research shows that most of us these days use 'friendspiration' to guide us in our projects, so friends offline and online - which is where I usually head to. I spend time poring over pretty lifestyle blogs and pinning like mad. In fact here is my Pinterest board with my ideas for this project:

Follow Happy Homebird's board Homebase #MyWay on Pinterest.
With £243 worth of vouchers as this is the average for updating their home décor, I headed off with all my ideas and went on a spring room makeover spending spree. Hoorah! Homebase's research also discovered that the average length of time to research a project is 29 days, not me, due to spending an incredible amount of time online (ahem) it is probably a few days.

I decided to makeover my kitchen and adjacent dining area as they were looking very tired, half  finished and the dining area was looking too gloomy. The rear of the house where these rooms are situated doesn't get too much light and them both being rooms we use most of the time, I felt they were the prime candidates for a makeover. Plus the dining area doubles as our homeschool area so brightness was definitely required.

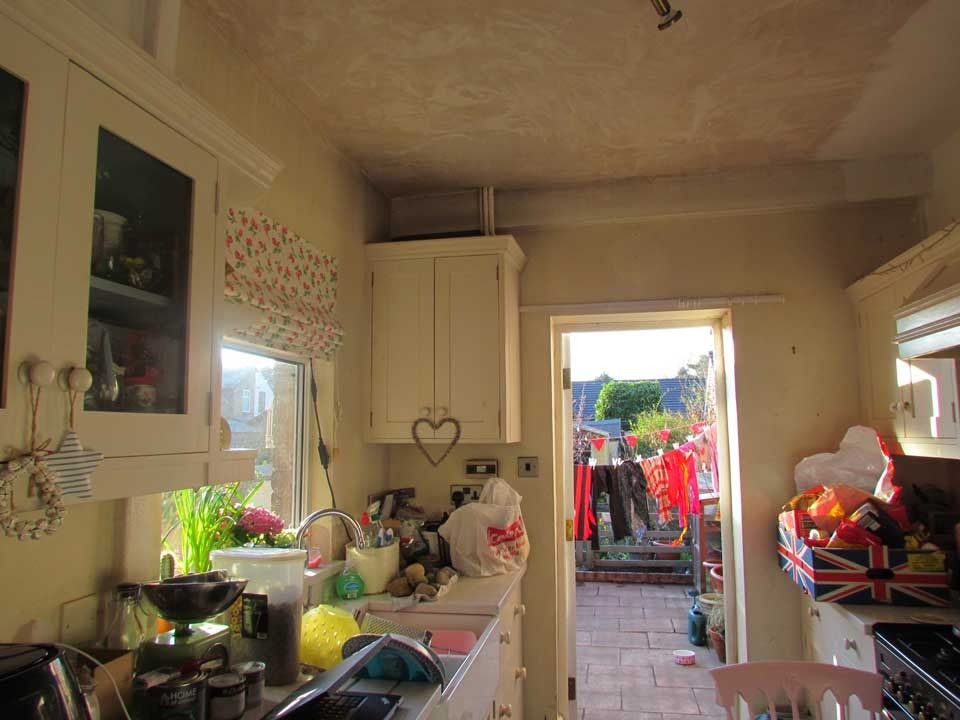
Here are the before pictures. Note half finished after plastering the ceiling look, walls that hadn't been painted since I've lived there, grubby cupboards with chipped paint and tired looking laminate floor. Also needed a declutter and improving with new on-trend accessories.
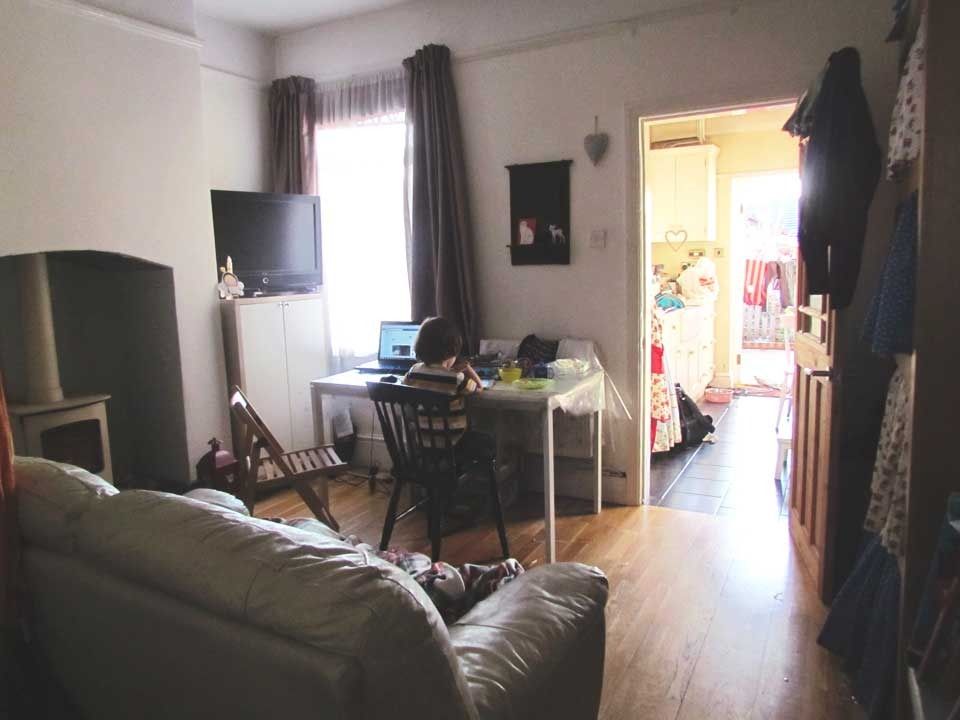
Dining-room-before kitchen-before So......., what I love are white floors and walls with pastel painted furniture inspired by the Yvestown blog, her home is a look I adore. A blank canvas and then accented with colours that cheer me. paint
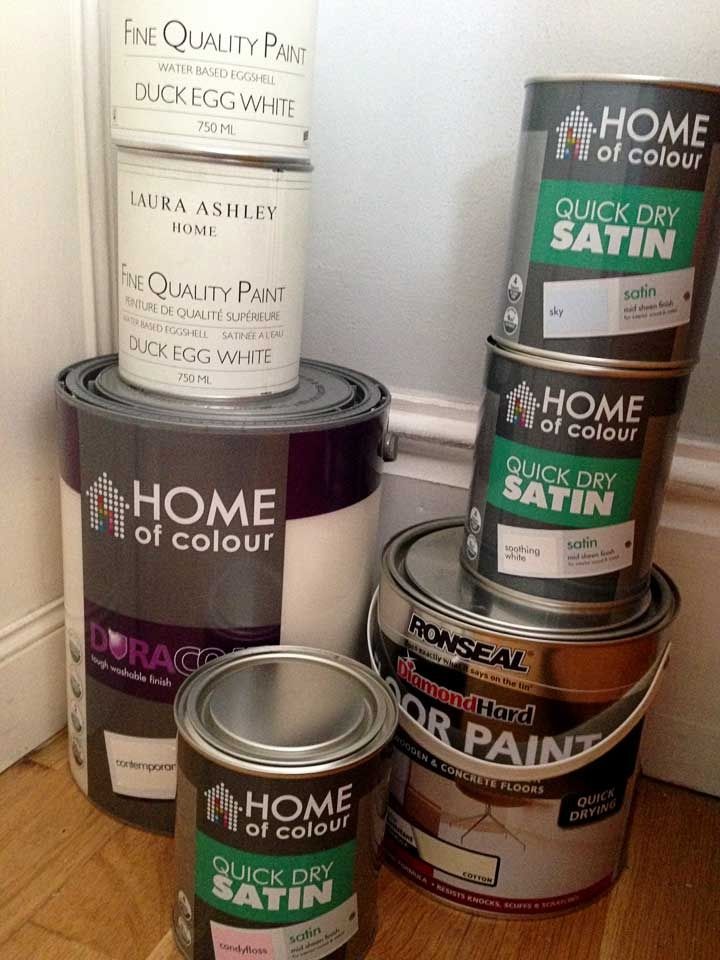
I bought so much paint - Ronseal Diamond Hard Floor Paint in cotton for a perfect white floor, Quick Dry Satin in candy floss and sky for the chairs, Laura Ashley Duck Egg White for the kitchen cupboards and finally a white emulsion for the kitchen walls from Home of Colour Duracoat in Contemporary which I thought was an excellent value range.
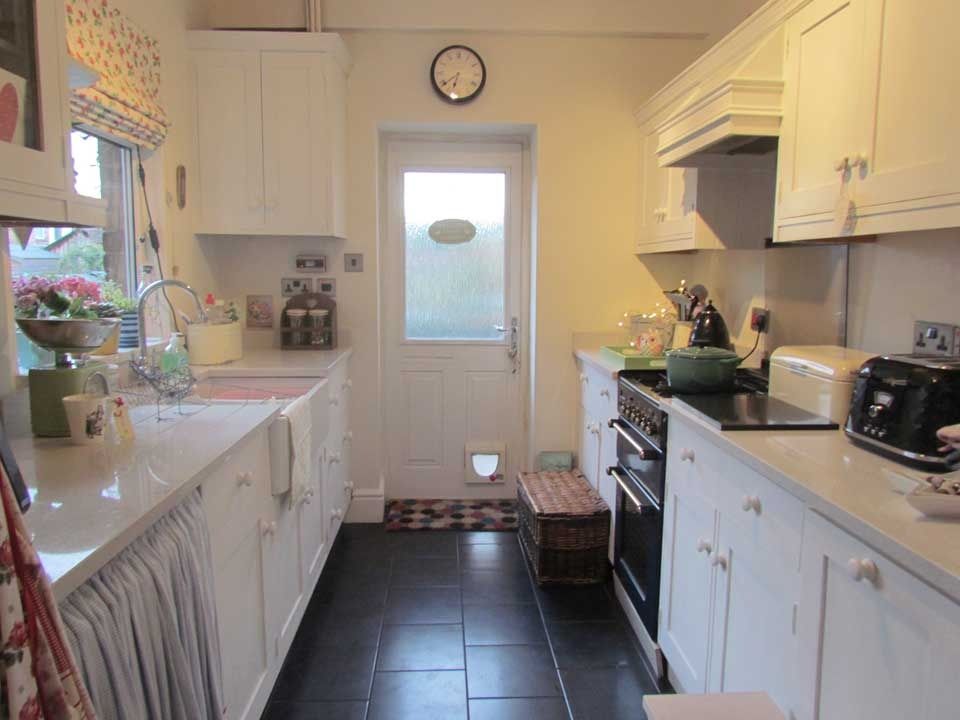
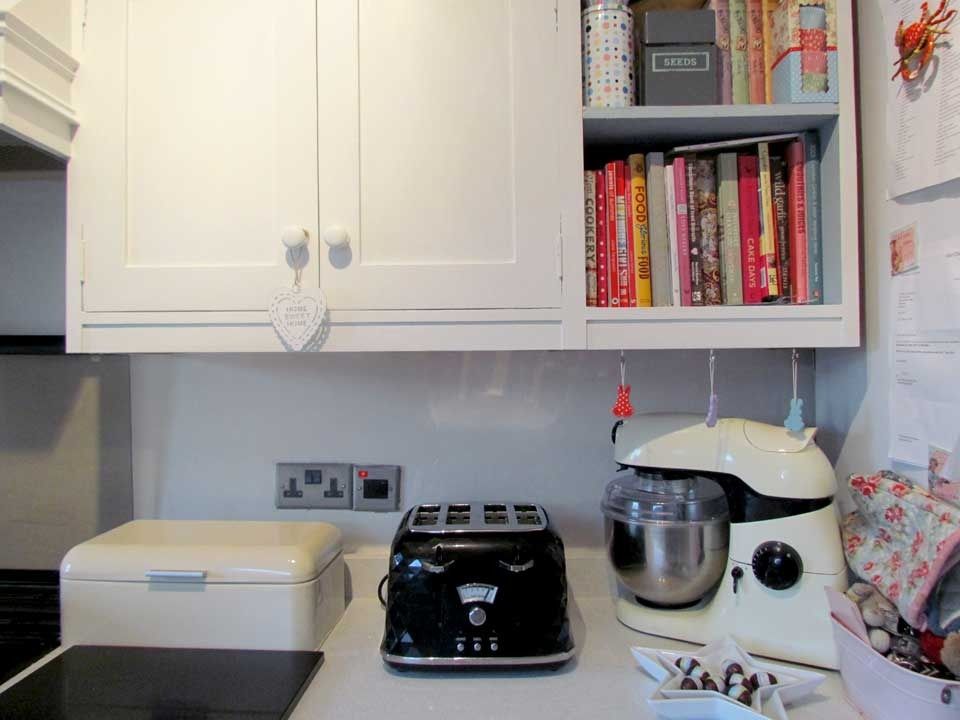
kitchen-after After preparation the wall - wiping clean and sanding we painted a couple of coats of white emulsion and in the cupboards in my favourite white duck egg. It was lovely to see the room looking so crisp and then I set about putting all my new accessories together for a country kitchen/shabby chic look. The clock is new and looks wonderfully classy against the white walls.
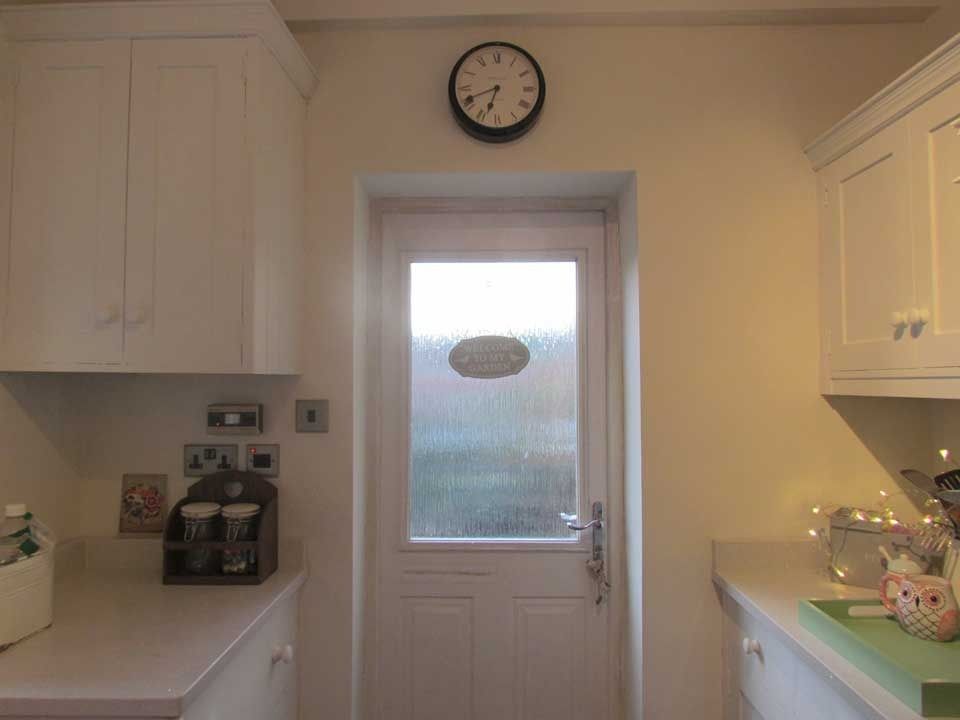
kitchen-door A pretty spring green tray for my tea and cakes and a cream bread bin to fit in better with my kitchen appliances.

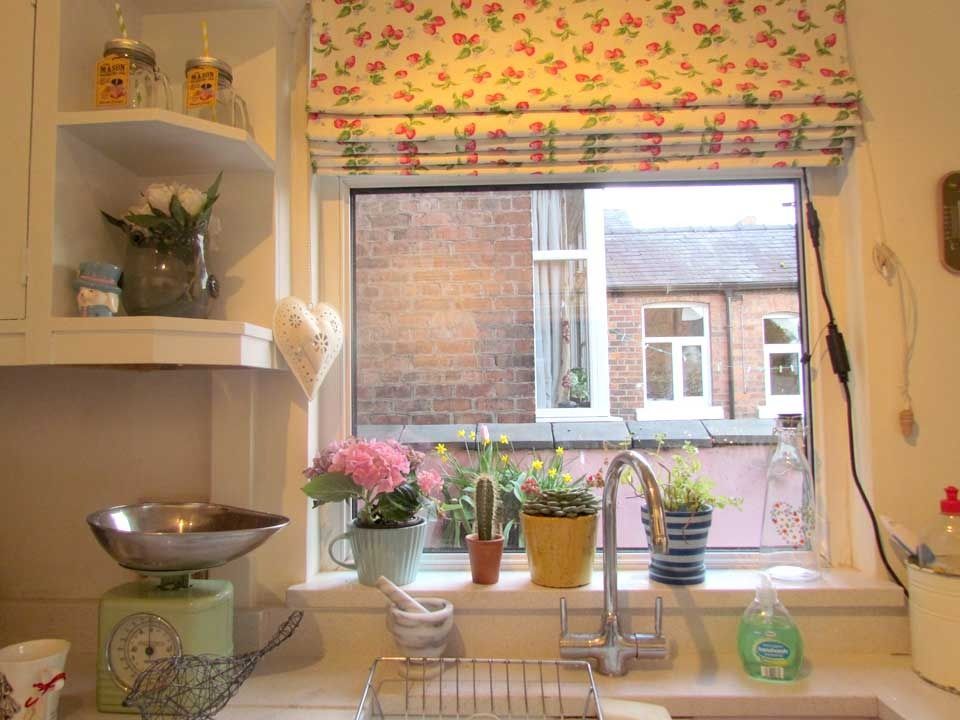
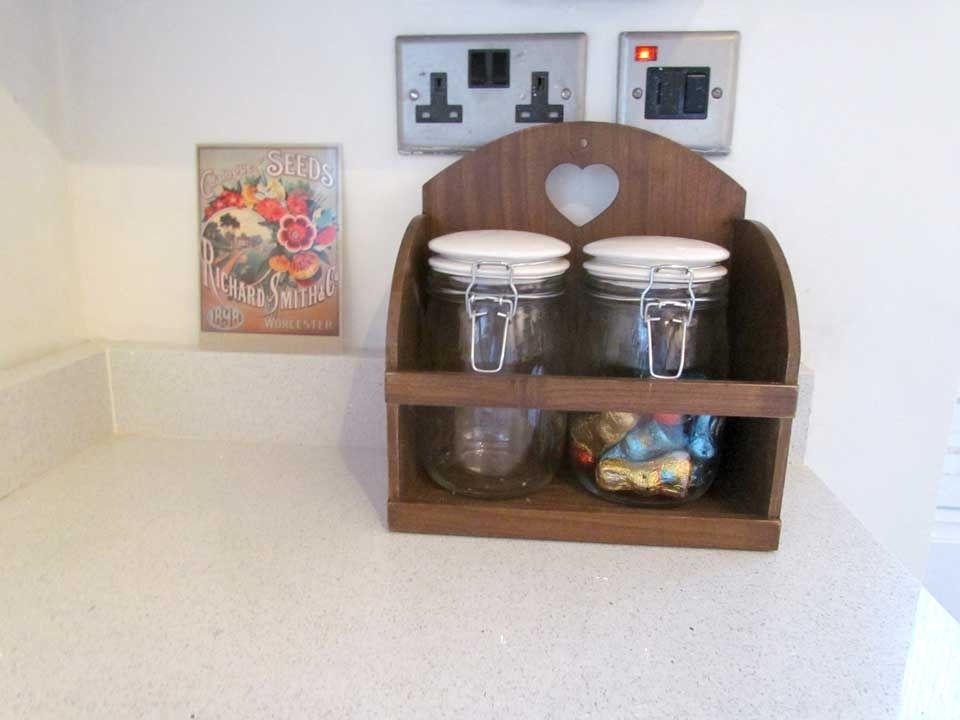
The most beautiful glass storage jar set that I was so pleased to find- an absolute bargain at £9.99 In fact I was pleasantly surprised by the home interior range at Homebase and how on-trend it all was. Folk style is one of my favourites and fits in well with my house.

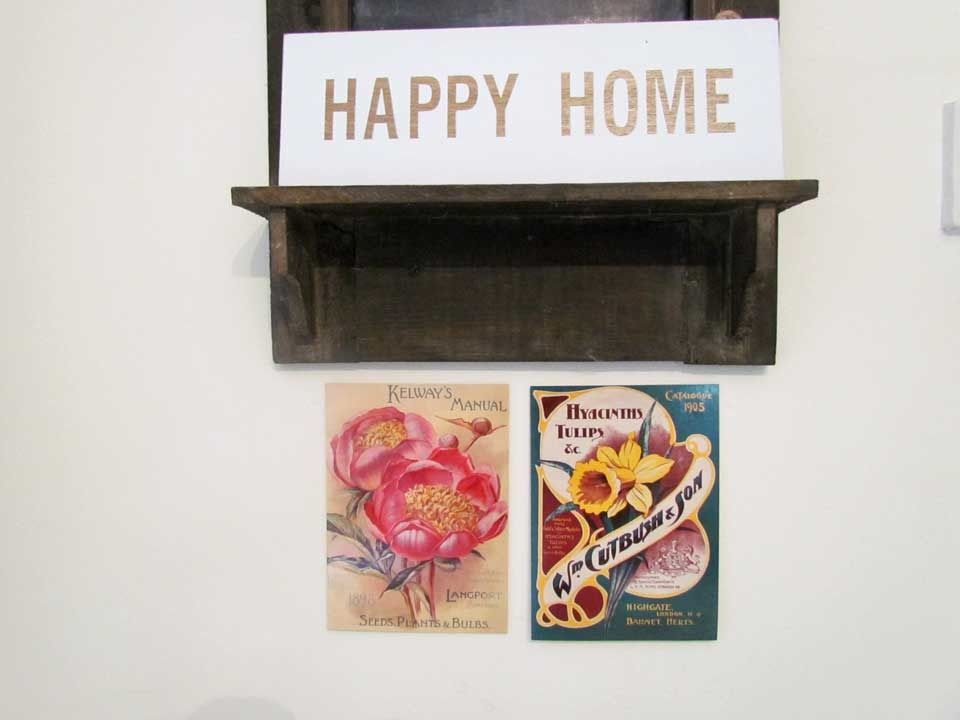
I also found some RHS greeting cards in store and I thought they were so vintage looking and of course, I love to garden so they were a find that I was very excited about. I do get quite giddy when doing the home up! Makes my heart skip when it all comes together.
jars kitchen-cupboards A cheeky owl vase to fuel my obsession, an antique green picture frame, yet more bird treasure with the wire birdy ornament.

And for the cake which is always available in this house, a vintage style pressed glass cake stand.
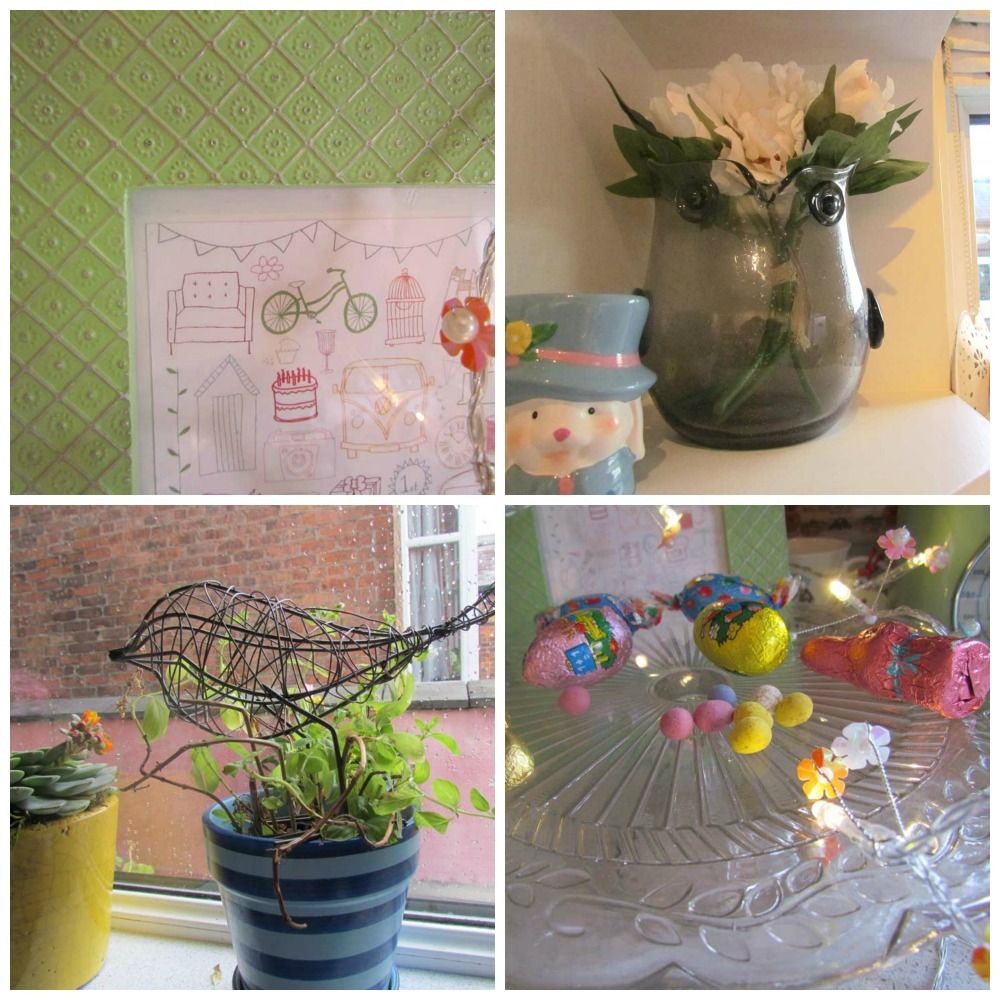
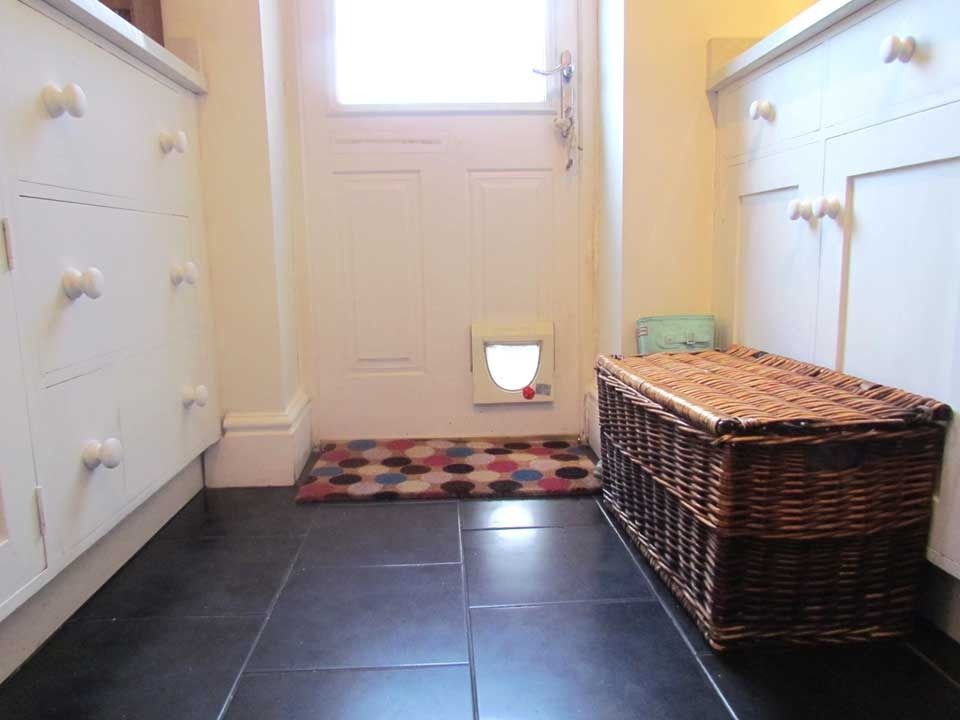
spring house products window A new spotty doormat to tidy the doorway up with colour and it's all looking tidy now. spotty-door-mat Moving into the dining room, the white continues and I used the other vintage cards as wall art.post-cards Look how amazing the floor looks painted white. I am beyond happy as a lark about this. I feel I have the look I truly wanted. The chairs had a few coats of the candy floss pink and sky blue and remind me of summer days against the floor.
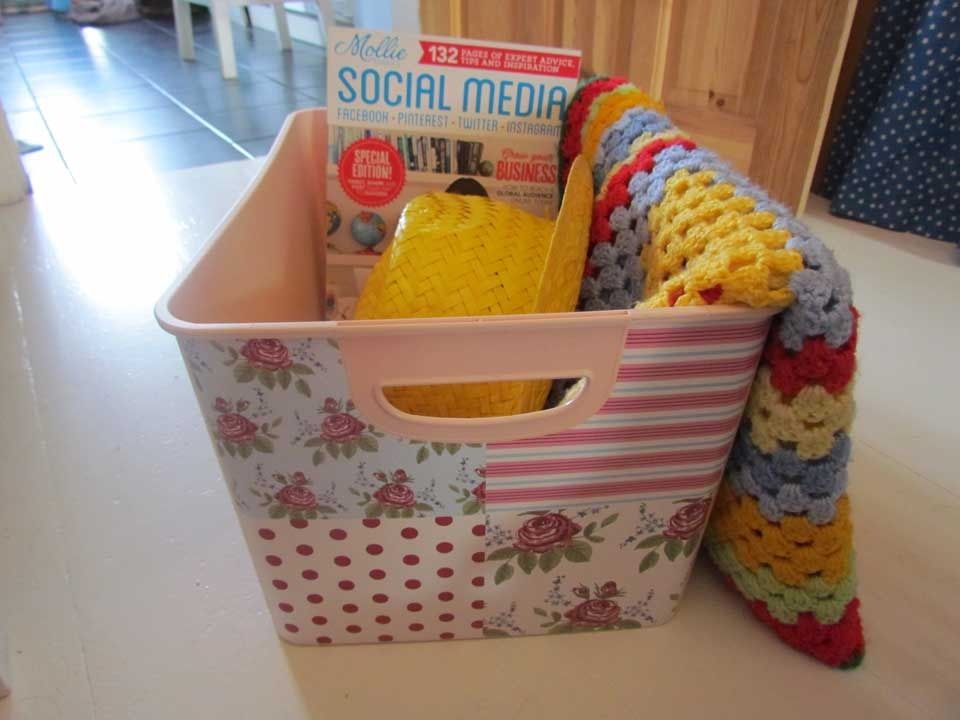
The storage box was a great way to tie in the pink and blue, it should have a lid but I seem to have come home without one which I didn't realise at the time. Ho hum! Looks great though to store my magazines in.
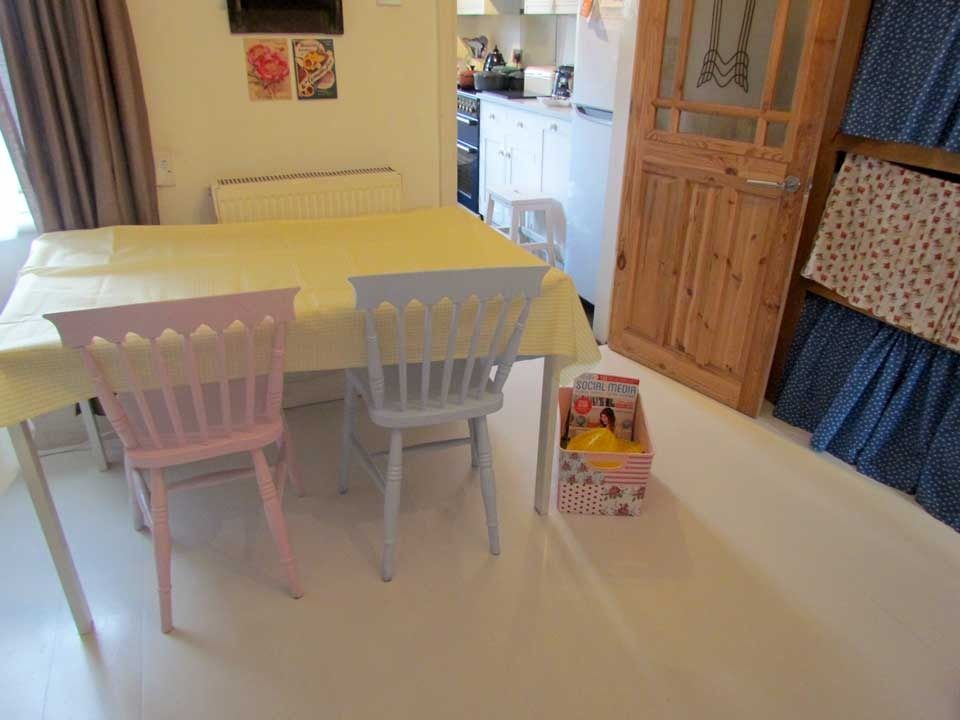
white-floor storage-box
 I still have paint left so I am going to carry on over Easter and paint my bookshelf sky blue and maybe some picture frames in the pink. Looks so much better and the room is filled with light now reflecting off the floor rather than being absorbed. It is better for our mood now, feeling cheery and the kitchen has a new lease of life.

Fantastic what a few days spent on  a makeover can do and now I have two fantastic spaces in my home ready for spring.
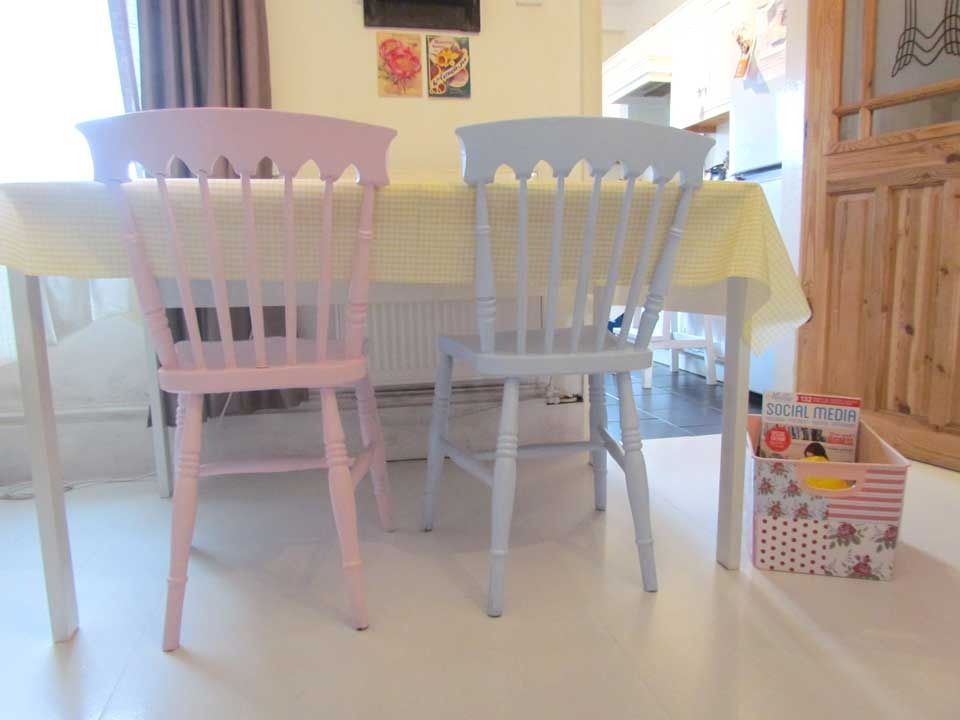
pastel-chairs_ Disclosure: I was sent Homebase vouchers for the purposes of the room makeover, all words are my own honest opinion.